LinkedIn Sales Navigator is a powerful tool for creating a highly targeted leads list. However, you don’t have access to a built-in method for exporting the generated leads lists. If this issue is limiting your marketing performance, we have a perfect solution for you.
In this article, we are going to unfold the simplest and more efficient ways to export leads from LinkedIn Sales Navigator. If interested, please continue!
Using Third-Party Tools
Here are the steps to follow when it comes to exporting lead lists with Evaboot:
1. Create an Evaboot account

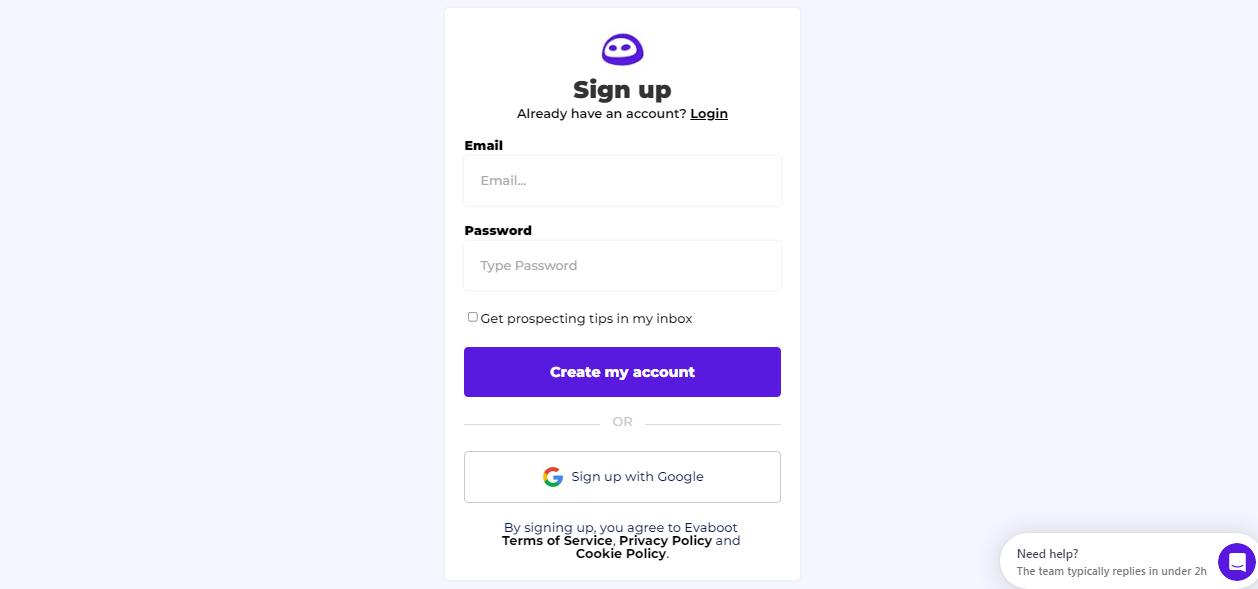
The first step is to visit Evaboot’s site and click “Sign up”. Next, create an account.
After you have finished creating an account, you need to click on “Get Chrome Extension”. With this, you can easily download the extension from the Chrome Web Store.
2. Download the Chrome Extension
While you are on the Chrome Store page, just click “Add to Chrome”. This will initiate the installation process of your Evaboot extension. Once the Evaboot extension is added to Chrome, you will be automatically redirected to Sales Navigator.
3. Select your Sales Navigator Lead List
Upon installation of the Evaboot Chrome extension, you are now in a position to go to the list of leads you want to export. It could include:
- Sales Navigator Advanced Lead Searches
- Account Searches
- Sales Navigator Lists
- Saved Searches
- Linkedin Contacts and Account Lists
Evaboot is capable of handling any of these used cases. Next, find the “Export with Evaboot” button, which is located at the top of a LinkedIn Sales Navigator search page. It’s possible to export specific tabs that you have included in your lead lists like “Changed jobs in the past 90 days.”
4. Name and Launch Your Export
Once you have clicked “Export with Evaboot” you will be automatically redirected to the Evaboot app. You can also choose whether you need emails for these leads. Before hitting the “Export leads”, you need to name your export or lead search page.
After launching the export, you will see the estimated end date on the left. Evaboot will export account or the leads in real time. With this process, your lead generation process will be GDPR-compliant.
5. Download your Cleaned List
Once the lead lists are extracted, you will receive an email. You will find a link to download your lead list in a CSV file in this email. Next, you must select the list type you want to download. That’s it, you’re done.
Using LinkedIn Sales Navigator Integrations (CRM)

Below are the steps to follow to Integrate LinkedIn Sales Navigator with Your CRM.
Step 1: Find a Compatible CRM
The first step is to choose a CRM that can integrate with LinkedIn Sales Navigator. At present, LinkedIn Sales Navigator offers integration with various popular CRM systems, such as Salesforce, HubSpot, Microsoft Dynamics 365, and Zoho CRM. To confirm compatibility, contact your CRM provider or visit LinkedIn’s official website.
Step 2: Enable LinkedIn Sales Navigator in Your CRM
Once you are sure your CRM is compatible with the LinkedIn Sales Navigator, the next step is enabling it in your CRM. This will allow better performance while using your sales navigator search engine. The procedure might vary depending on the type of CRM system you are currently using.
For example, Salesforce allows you to enable its CRM from the AppExchange. On the other hand, Microsoft Dynamics 365 can be integrated with the LinkedIn Sales Navigator via its settings page. If you encounter any issues, you can contact your service provider and seek guidance regarding the correct process.
Step 3: Connect Your LinkedIn Sales Navigator Account
Once you have enabled LinkedIn Sales Navigator in your CRM, the next step involves connecting your LinkedIn Sales Navigator account. This is usually done by logging into your LinkedIn account and permitting the CRM to access your LinkedIn data. Make sure you have the authorization to connect both of these accounts.
Step 4: Configure Your Settings
After your accounts are connected, it’s time to configure your settings. This involves setting up an account and lead syncing, setting up alerts, and enabling InMail. You can spare some time to explore some other configurations and settings to customize the process depending on your business needs.
Using Third-Party API

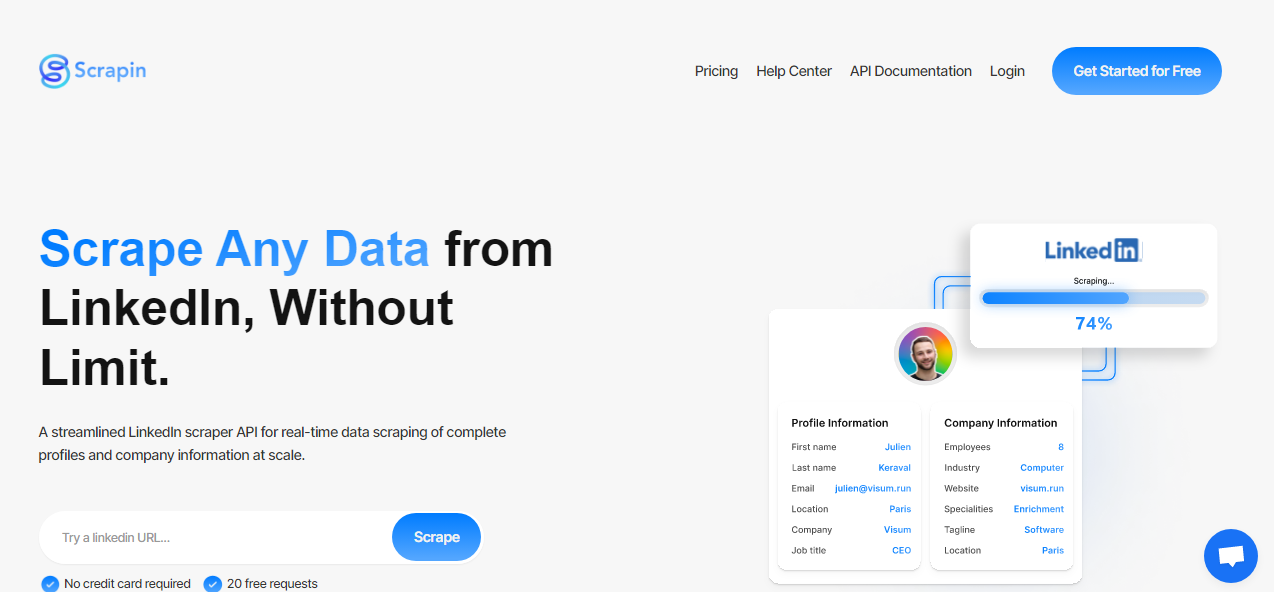
Below, we will explain how to integrate LinkedIn Sales Navigator data using a third-party API like ScrapIn API. This API allows you to integrate LinkedIn data using code. There are numerous advantages to integrating LinkedIn data with ScrapIn API.
A few of these include:
Unlimited Volume: While using Evaboot, you need to scale up to be authenticated in LinkedIn. This suggests you are limited in terms of volume. However, this isn’t the case with ScrapIn. Here you can access unlimited volume without paying extra.
Unlimited Data Scraping: LinkedIn Sales Navigator allows you to integrate data in your CRM, which limits the amount of data you can integrate. On the contrary, ScrapIn gives you the freedom to get all the LinkedIn data you want.
To start using ScraIn API, you need to follow these simple steps:
Step 1: Sign up in ScrapIn
Step 2: Get your API key
Step 3: Build and run your script
Here’s a code snippet in JavaScript to learn how to integrate LinkedIn data with ScrapIn:
Final Thoughts
Exporting leads from LinkedIn Sales Navigator is a powerful strategy. It allows businesses to identify qualified leads and nurture them to drive more sales. If you follow the steps outlined above, you won’t face any issues while exporting your Sales Navigator lead or searches.
However, it’s essential to prioritize compliance and data quality. You also need to refine your export process continuously depending on your needs. When you successfully export leads from the sales navigator, you can unlock valuable insights and accelerate your sales efforts.


.png)
.png)
.png)
.png)
.png)


.png)


